Photoshop is an amazing and powerful tool that I use frequently. It’s good for placing celebrities in compromising situations, blackmailing your neighbor, or improving this year’s Christmas card. I thought that I would share some techniques with you so that you can get your own racketeering business going. In the interest of brevity, I will assume the lot of you will have at least a cursory knowledge of the program.
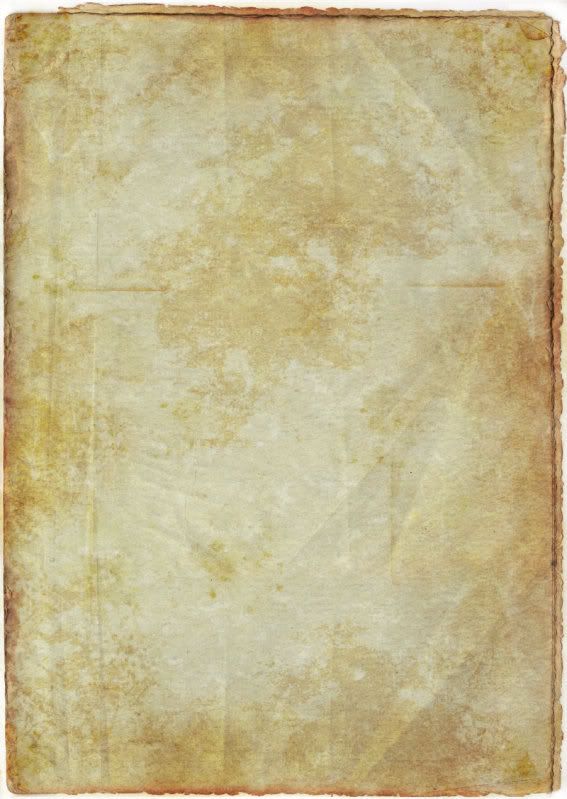
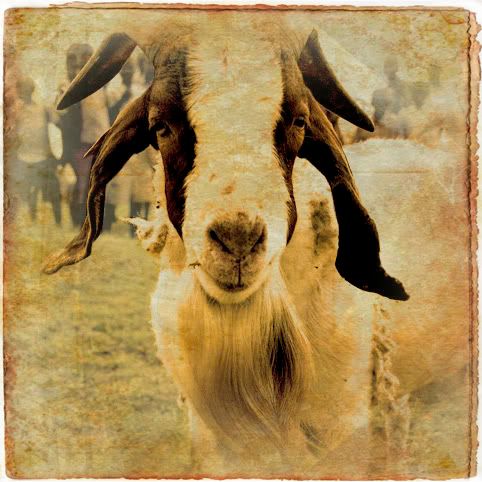
Let’s take Billy Goat Gruff here and turn him into an Olde-Timey Goate. I’ll be using the paper texture below to make the image more authentic.
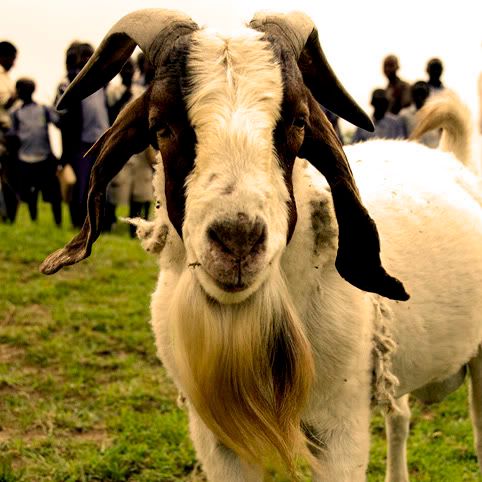
1. First off, as I do with all images, I copy the background to a new, adjustable layer [Layer > Duplicate Layer]. Then I turn off the background layer. This way I can revert back to the original image easily if need be, or do a side-by-side comparison.
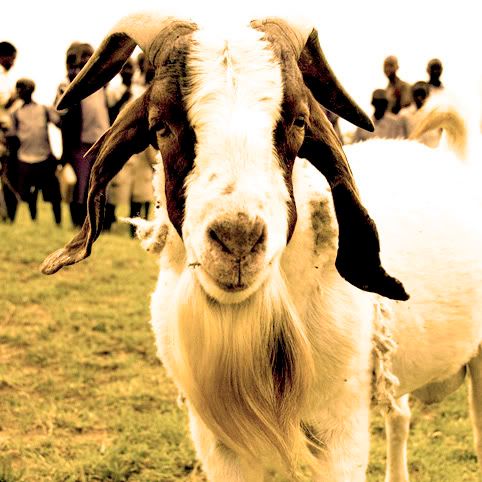
2. Now, the image is overly tonally crisp. Let’s tone down the levels. Do this by going to the menu Image > Adjustments > Levels. You want more white in the image, so slide the white triangle below the histogram to the left until the box reads about 170. You can also move the middle triangle left to adjust the midtones. I moved it over to read about 1.28.
2. Next we want to get rid of some of the color. Select Image > Adjustments > Photo Filter. In the drop down box, select Sepia, and move the Density slider to read 100%. This should give you an image that looks something like this:
3. Now let’s give the image some texture like it’s been in Nana’s trunk in the attic for half a millenium. Open your paper image in Photoshop, select all, copy and then paste into the goat image [Ctrl+A, Ctrl+C, Ctrl+Tab, Ctrl+V]. You want this paper layer to be on top of the goat layer. In the Layer box, make sure the paper layer is selected, then in the drop down menu that says “Normal” select “Multiply.” Viola! You have texture in your image. The paper layer is much bigger than the goat image, so you should resize the image to the canvas size to look like this:

4. Next, use the Wand tool to select the white space around the paper layer. With the white space still selected, switch to the goat layer and delete the edges.
5. Use the Marquee Box tool to select the outline of the paper. Still on the goat layer, use the Feather command [Select > Modify > Feather] to feather your selection. 50px should be a good selection. Invert the selection [Ctrl+Shift+I] then hit delete twice to fade the edges of the image. Billy Goat Gruff should now look like this:
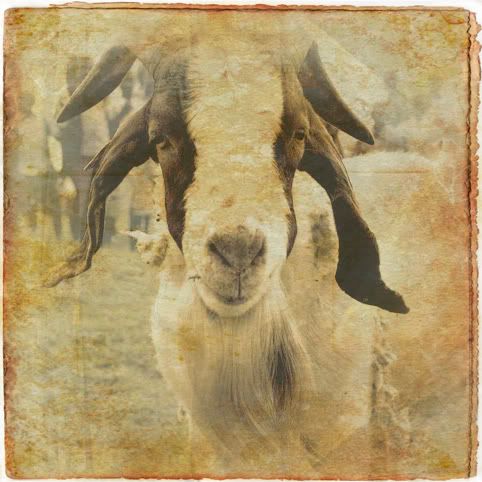
6. You’ll notice the background is much to vivid for an Olde Timey picture. The easiest way to rectify this is to use the Lasso tool to select the background and the Eraser tool [set to about 14% opacity] to lighten the background.
7. Gruff still looks a little vivid to be authentic. Adjust the Hue/Saturation by going to Image > Adjustments > Hue/Saturation. Lower the Saturation by about 30, and raise the Lightness by about 30.
8. The new image is not quite centered anymore. You may want to adjust it to be centered visually within the paper layer.
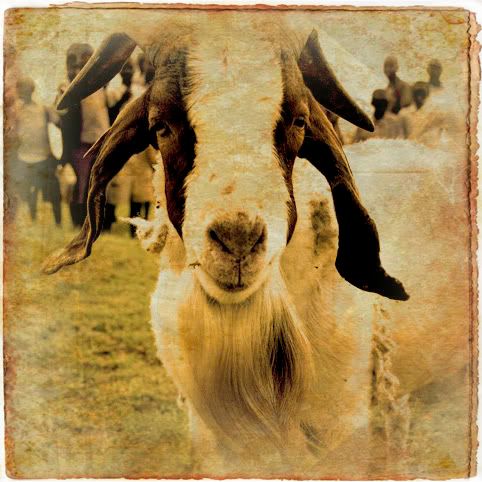
9. Lastly, you may notice that Olde Timey photographs never seem to be in focus. Let’s blur our goat a little bit so he’ll fit in. Filter > Blur > Blur More should do the trick.
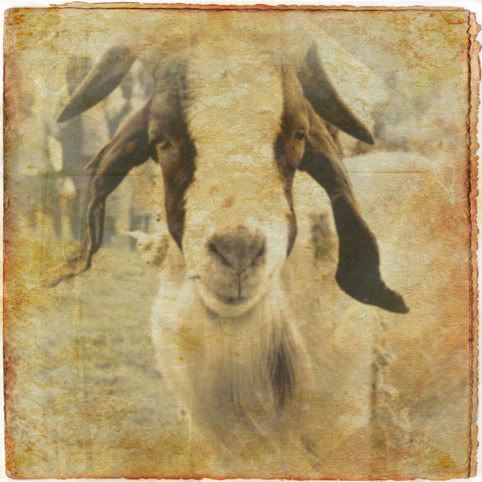
Viola! You have successfully turned Billy Goat Gruff into Olde Timey Goate. Now you can get a job at Disneyland or Great America at the Wild West Olde Timey photo booth! Oh the places you’ll go with this talent!
Costumes, replica of Bigfoot, some shot guns...plus Wickham's amazing photoshop talents...Now we can make some real money..hello, Enquirer, boy do I have a story for you!
ReplyDelete